
In the previous elective, students made use of the Arduino UNO boards that were commercial boards. This time around, students will be able to construct and design their own boards. In this section of the website, you will learn how to design and construct your own PCB boards and soldering the required compartments and parts of your board.
First and foremost, to fabricate a board, you will most definitely reequire some tools and supplies to help you. We use copper boards as the basis of out boards. These copper surface act as the 'wires' connecting the different parts on your boards such as a resistor to a capacitor. Now to actually create your boards, you will be using a milling machine which will be explained below
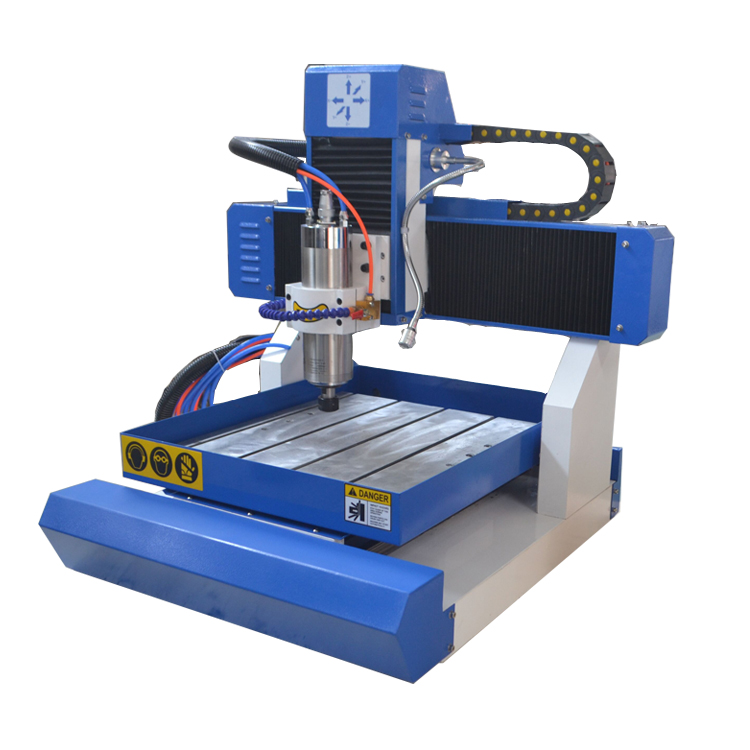
REMEMEBER, before operating any of these machines, be sure to check if there are any lose parts or unsafe hazards surrounding the machine and be sure to inform the teachers in charge that you will be operating the machine. This is a smaller variation of a CNC machine which can be useful to cut smaller objects. The machine utilizes a mill to etch or cut through objects where in this case, its the copper boards. Below you can observe the different types of mills that our lab has.
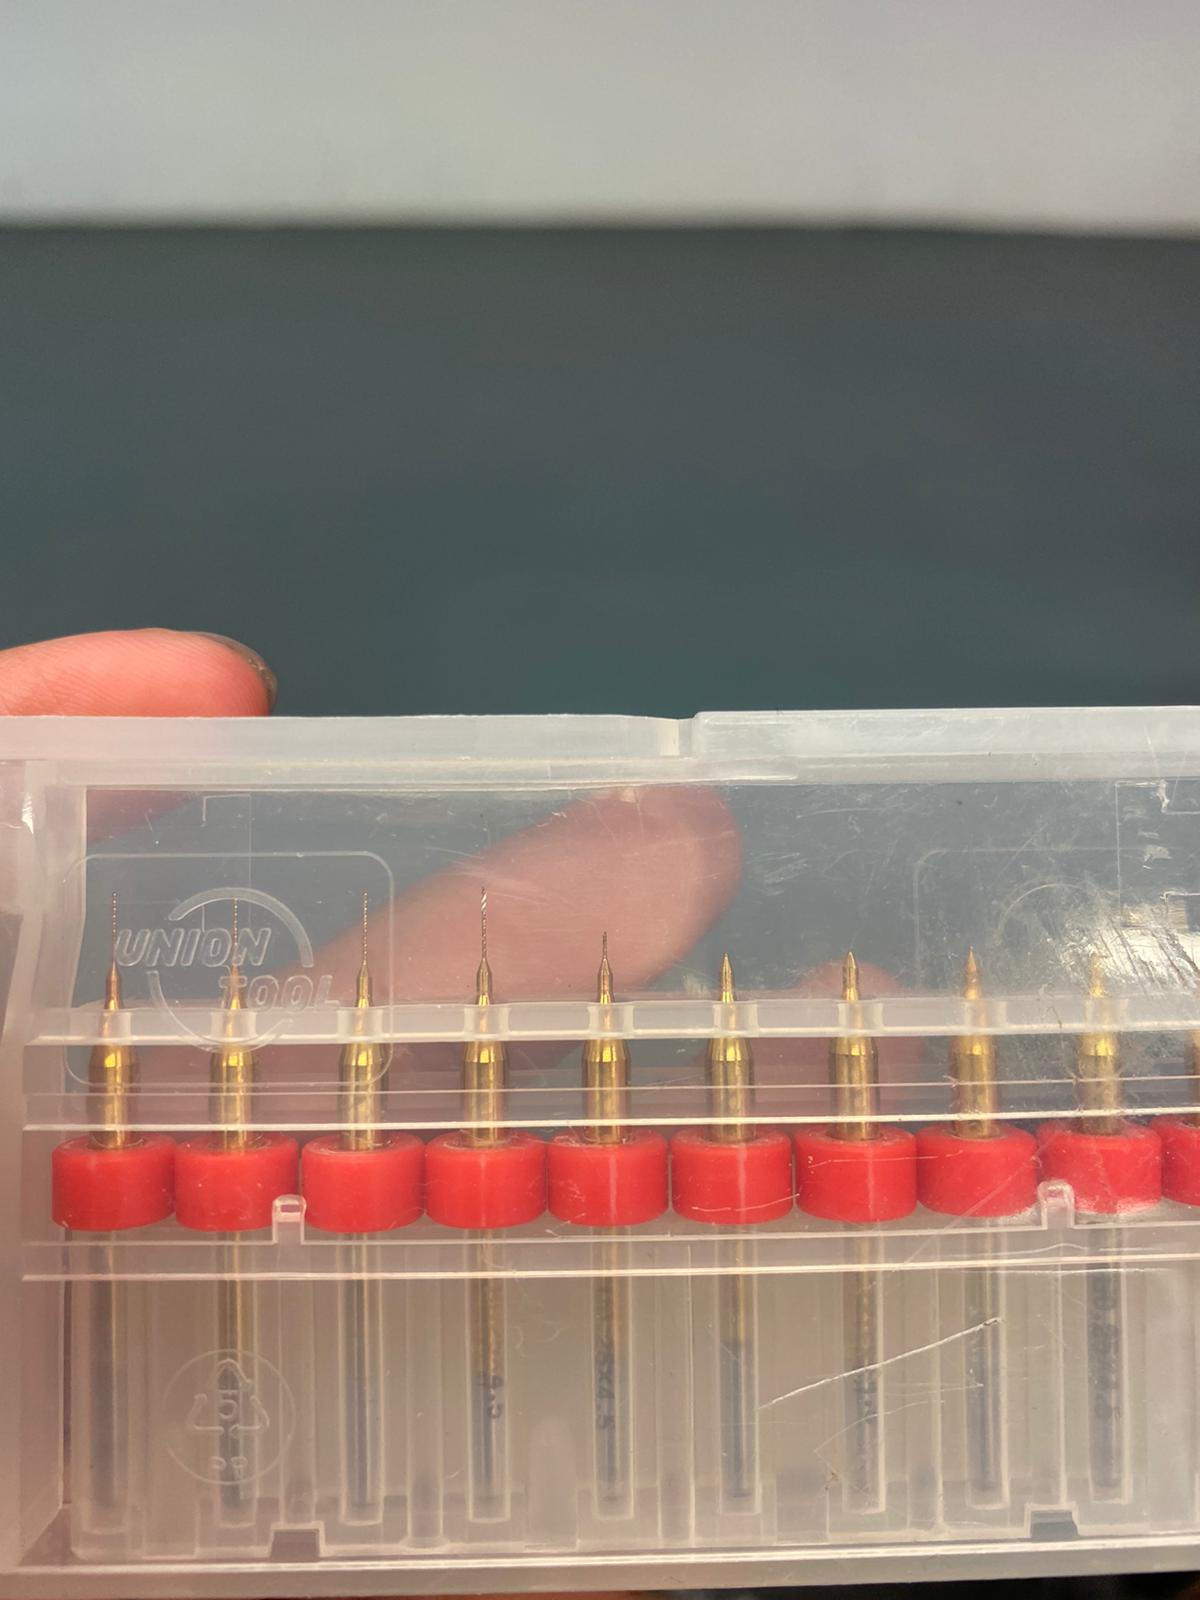
The sharp pointy tool that you see in the picture above is what we call the mill. These are what is used to cut through objects so always be careful when replacing it. These mills could also snap after prolonged usage of it so be sure to replace it often to avoid it interfering with your projects
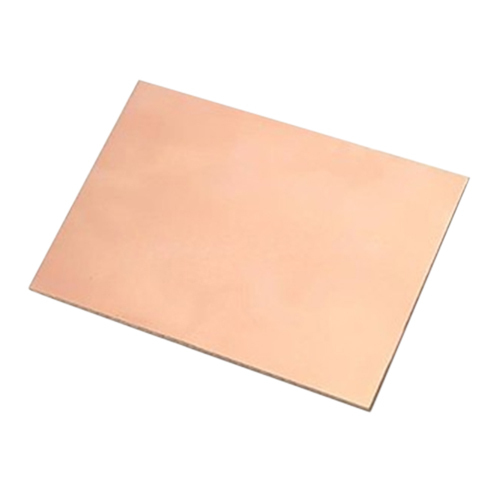
Above is the type of copper boards you will be using to mill your own PCBs.. Be sure to have a few extras lying around in case your milling does not turn out the way you want it to.
Once you have your design, Place the copper board at the machine but be sure to layer the bottom with double sided tape. This is to make sure that during the milling process, your board would stay in place and this would also prevent any uneveness. Once youve uploaded your file, you will face a screen like the one below.
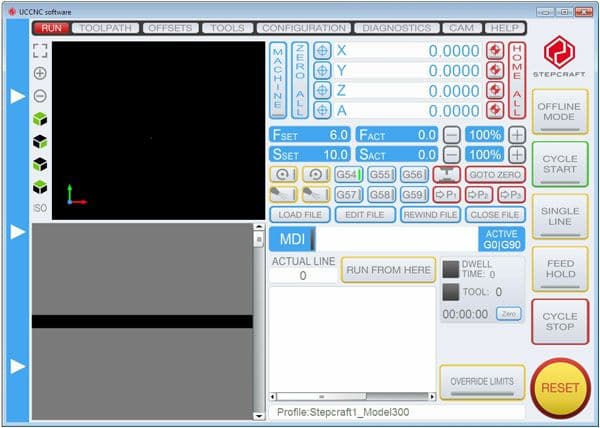
Here you will need to control the machine accordingly and adjust your X, Y and Z axiis to match the location of where your milling process would begin. Ideally this would be at the bottom left area of where your copper board has been placed. Once you are ready, make sure you put on your glasses or safety goggles to prevent any of the debris or particles from affecting your eyes. IF YOUR EYES DO COME INTO CONTACT WITH ANY OF THE DUST, RINSE WITH WATER IMMEDIATELY AND DO NOT RUB YOUR EYES.
When machine is running, do not leave it unattended and try to vacuum the dust of your board to keep it neat and tidy.
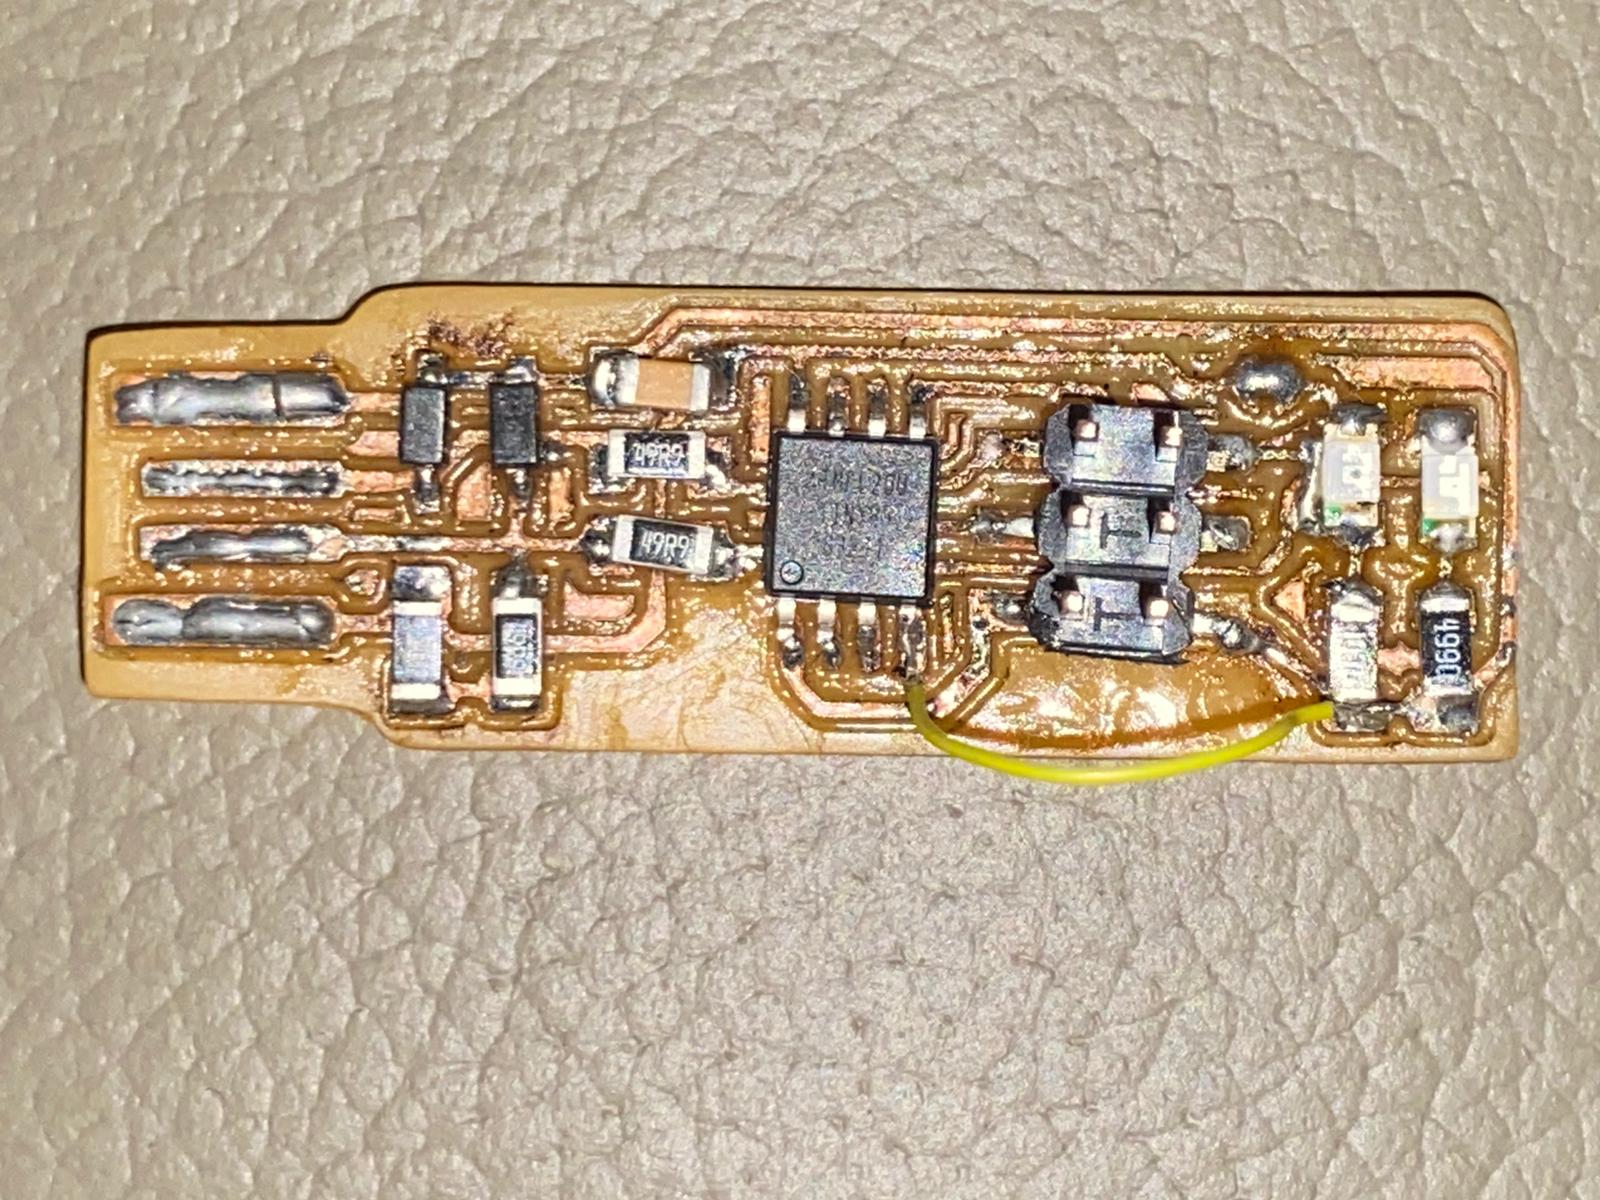
Once you have finished cutting, your board should turn out into something like this, of course then you will now need to solder the parts onto your board. The board above, the excess copper has been scrapped off, You can do so for yours with a pen knife but be careful of which direction you are scrapping. Make sure it is in the direction away from yourself or anyone around you.
When operating a soldering iron, do not touch the tip as it is heated to very hot temperature which will burn your skin if you come into contact with it. So please be careful when handling the soldering iron, To solder the parts onto your board you would need the lead material to attach your parts onto your board. This lead hardens very quickly so you will need to be fast but careful when placing your parts onto your board.
Soldering releases fumes that are quite harmful to you. Be sure to turn on the ventilation and wear goggles.. When you are done soldering, turn off the soldering iron and do not leave it on if you are going to leave it unattended for long periods. This is to avoid any accidents to you or the people in the lab.
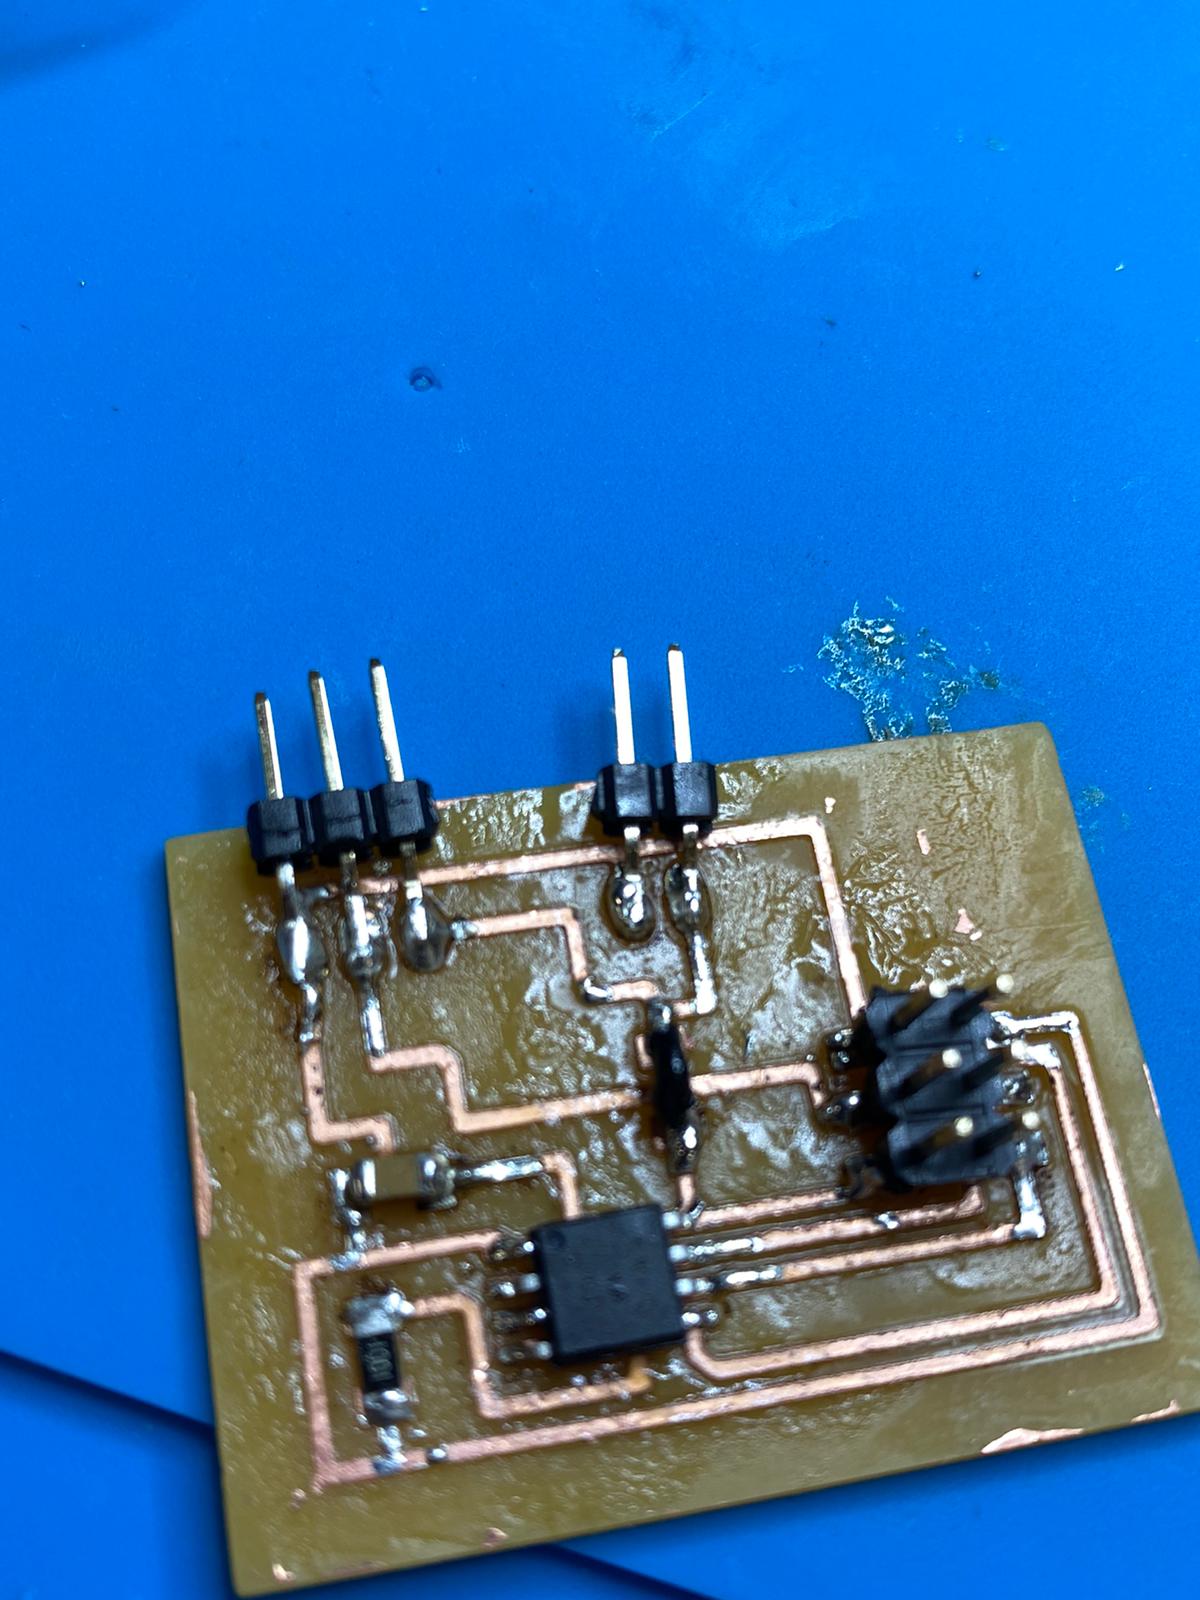
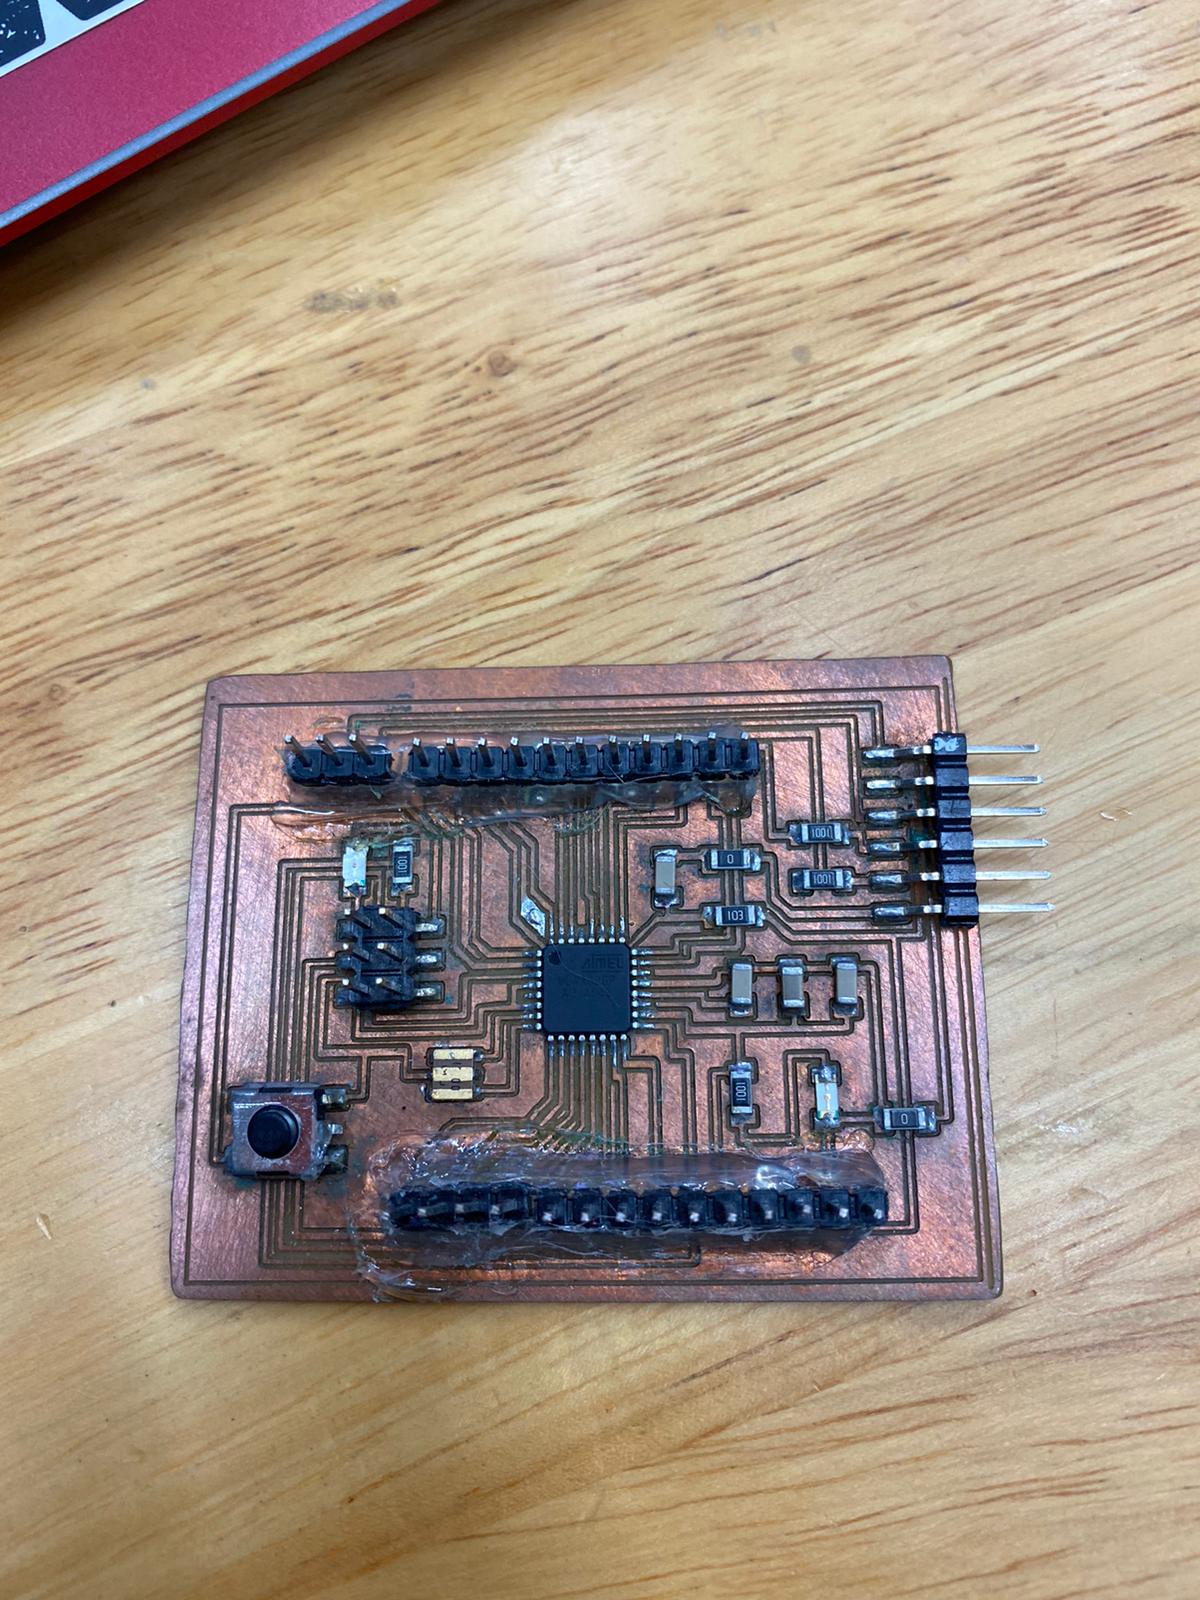
Once you are done, it should look something like this. If you are using header pins, be sure to place hot glue to prevent it from falling off. but only do this once you are sure that your board is working. To make sure your board is working and electricity is flowing well without any shortages, use a multimeter. If the current flow is good, you can now prepare to program your board